Tuesday, September 8, 2015

New Love

Me and my man. 


I made this shirt this spring using a fold that I learned at Haystack with Michael Olszewski. When I taught it to my studio assistants we called it the Michael fold.  This summer I took Elin Nobles Fold and Clamp class at Pro Chem. It was wonderful and we learned this and many other folds. Ellen calls this one formerly known as the Michael fold  the rotating square.
The dropped pattern makes this really special to me. The shirt is a mystery fabric from Jomar, but this one was dyed with acid dyes so I suspect that it is silk.


Practice makes perfect... or at least gets you going again. These are a variety of fabrics soaking to wet out. I swore that I was going to start practicing as soon as I got home from the workshop so that I would be able to cement the new folds into my repertoire. The best laid plans... it was over a month until I got back to it and it was really a challenge for me to remember. So I spent two days folding these small pieces of ( yellow, viscose) white silk , White bamboo and silk and white cotton into the hemp fold. Here they are soaking in a plastic bin to wet out.
hemp folded pieces wetting out in plastic bin.

 Each took up the color in its own way. I knew this would happen but was still surprised at how different each was. The viscose dyes beautifully and swell up more than the others. The silk grabbed much more of the yellow in this dye bath. I learned form Jan Myers Newbury that silk grabs more of the dye or takes it up more quickly and that is why in her workshop we were only allowed to work with cotton. She also had us mix certain colors and the silk would take it up differently. This was demonstrated below.
all the pieces soaking in MX mix of yellows and green.


from left, cotton gauze, cotton, silk crepe, bamboo, all were white except for the yellow viscose

I changed the placement of the resists on each piece and then overdyed them. Will post the results tomorrow.  Even though I knew intellectually that they were going to take the dye differently it still surprised me.  The cotton gauze was much bluer than the broadcloth like cotton bandana. The silk was just so much more yellow. Never a dull moment in the dye studio. 

Sunday, September 6, 2015

Lemonade from Lemons

 I am aiming to record my thought and working process. I seldom start from a plan other than whether the work will be for the wall or the body. In this case I am making two tight twisted seersucker shawls.
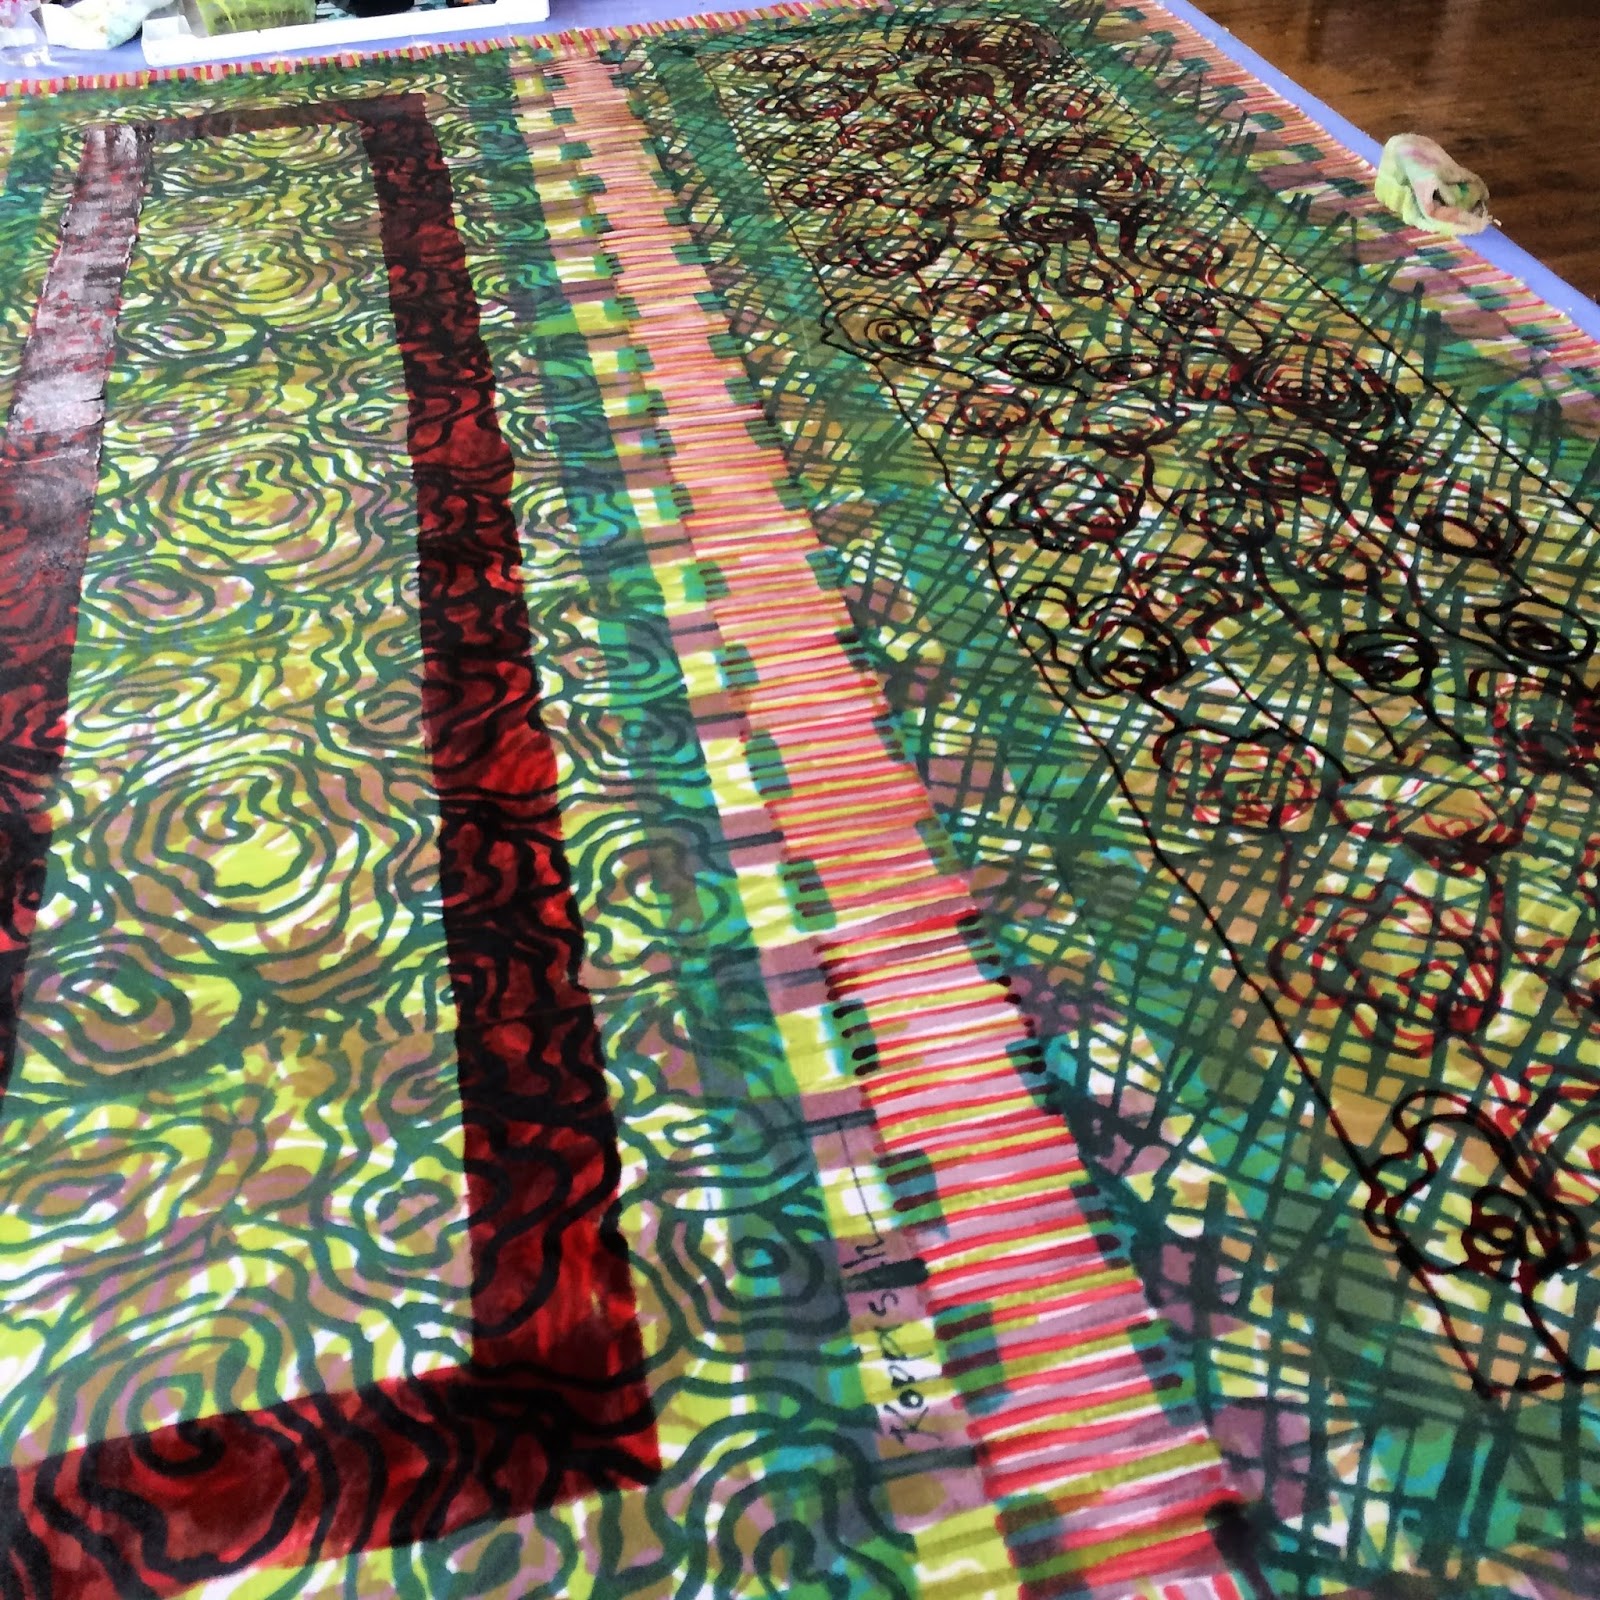
First layer of MXdye screened on from a photo silk screen. 

this dark green will nearly disappear. Note to self avoid old dye especially in summer. 
Again the greens are going to fade to olive. 
I used different screens but the same dyes to build the two scarves. Each day I would screen and hand paint then allow the dyes to batch over night. Sometimes longer.

third layers for both scarves. 

Was quite pleased with the colors. But this was before wash out. 

Unfortunately after I washed them out I lost almost all of the deep greens. NEVER USE OLD DYE. 
So I rolled them up and over dyed using acid dyes. An exciting new approach for me.


Finished scarf.. tied. The colors were dreadful after the wash out.  So awful that I neglected to take a picture. SIGH, try to image pale but harsh colors. I had forgotten that mixed MX gets stale and loses strength quickly during a Philadelphia summer.

So it was acid dye to the rescue. This one was edge dyed by rolling it up and only dyes the outer edges. I lost the lovely orange stripes but gained some great blue depth.
Finished scarf draped you can see that the deep green of the center linear print  became an olive drab. 

Edge and dip dyed  Cabbage rose wrapped as a shawl 
 This one started with the same folded edge dyeing but I was still not happy so after creating the deeper blue edge the whole piece got dip dyed. The orginal MX printed red ( one of my favorites from the "cabbage rose series" was strong enough to hold its own against the acid dyes.
I am a real fan of edge shading /ombre and love the added depth the acid dyes created.
Wrapped as an infinity scarf


Thrown over the shoulder. 

Wednesday, July 3, 2013

Twist with Color


Can't wait to see how this color dries. I know it will not be as intense, but I suspect the silk can still take more color, so if need be I will add more.  Here is todays work on Twisting.


Monday, July 1, 2013

Twisting and Turning

It is incredibly humid with everything sticky. I was working on some new small triangles and made a few new deconstructed screens, but it was just too humid for anything to dry. I had a new piece of silk stretched and waiting. And luckily I just jumped in with an idea I had the other day. Why not just use a brush and paint black lines down on the silk? And so I did. 
I did a free drawing across the big square of crinkled chiffon. 


Once the silk was activated by the curving black lines I grabbed my newest favorite tool. "Roots only" and just went to town. Can't wait for it to dry enough to had additional layers tomorrow.


Sunday, June 16, 2013

Mono Prints

Had a good time this weekend working with my intern and showing her how to make monoprints using deconstructed screens on Reeves BFK.

We spent Saturday making the screens taking rubbings and drawing on the mesh with thickened dyes. We let them dry overnight and went off to buy the paper.

Any good printmaking paper will do.


This print had a second layer using a thermofax as well as being brushed directly on the screen. You will see remnants of these red stripes printed on the image below. The images are small... only 16"x10" so this moved along quickly.


These two images are fairly early in the print order you can tell because the hand drawn marks are mostly white. The dye was thicker there so it acted as a resist.

Both of these have a second layer added to them while they were still damp. The one to the right was brushed over and the circles were stamped on.


The print on the right shows more of the hand draw red lines they had begun to break down and so printed more than acting as a resist. This has shapes stamped and rolled on top.


Well not sure this might actually have been the third pull... since I think the red line is still acting more as a resist. I always mean to number the papers... maybe next time. Just like this process I tend to be very impromptu and improvisational.


Twas a great way to spend the weekend! Thanks for looking.


Big Day!

I finally got to see these panels hung as a unit the day before the wedding. Here they are as the guests are beginning to fill the white space. The panels were hung 3" apart and with the center panel hung 6" further forward than the two side panels. They are only lit with natural light in this photo and it was a very overcast day. But this shot gives a closer sense of their true colors.


Here is a view of the brand new Mr. and Mrs. I was tickled at how well the panels worked with the colors of the wedding party and for making this plain white space seem more spiritual.


Off to enjoy the party. For once I do not have dye on my hands!

So now all the excitement and work is complete and the panels are wrapped and stored under my print table  awaiting another opportunity. If you know of any couple that needs a backdrop let me know!
It was a wonderful day and a beautiful ceremony. 

Friday, May 17, 2013

Spring Beginnings/ June Wedding


Hello and Happy Spring from Studio 207!
Take a sneak peak into what was accomplished today!  The following 14 foot and 9 inch silk panel in front of you, is the first segment of a three-panel piece. This is the center panel and there will be a12.5' panel on either side. These will be hung at ceiling height from a 13.5' ceiling... so the dark green on the center panel will disappear into the folds as it gathers on the floor. It is my intent that this reference kimono. The flowers will extend across the top of all three panels... and extend further down on the right hand side. These panels will provide the backdrop for my daughters wedding this June. Her bridesmaids are wearing colors in this color range of the flowers.  This wall hanging was entirely hand painted, and rolled using  MX dye a small amount of soy wax resist in the flowers . Take a look for a visual explanation:
Rolling vertical stripes to create a sense of background and space. The background color of green, will appear subdued with the addition of the newly rolled purple-sage. The deep emerald at the bottom was deconstructed silk screen, but will not be visible when it is installed as the fabric will puddle on the floor.
 
 
This piece will stand nearly 3 times my size upon installation.  It's moments like these that require a ladder to gain a fresh perspective.
 
The variety of textures one can receive from 2 similar sponge rollers is always surprising!  The dark lines atop the larger stripes have been added, a more purpley-sage, to boost presence and volume of the stripes against the yellow background. 


Et Voila !